
I’ve been making games since 2006 – and in 2015, I jumped into the deep-end of indie game development leading Dapper Penguin Studios. This wild ride went on for nine years. One of the games that we released ended up being the critically acclaimed game Rise of Industry – a strategic tycoon game where you build and manage your growing industrial empire. But (I hear you ask!), did we have a proper Game Design Document when we started? Absolutely not. Instead, we had a pile of Trello boards, Jira tickets and a Wikia that no one remembered to update. It was chaos. Somehow, the game made it out the door. But looking back, it’s kind of a miracle it did.
This article is my attempt to help you avoid that mess. I’ll walk you through what actually goes into a solid GDD, why not having one cost me time (and sanity) – and I’ll even throw in a real-world game design document example you can grab from to use as a starting point for your own game.
What is a GDD?
A GDD – or, a Game Design Document – is a living blueprint of your game. It tells you, your team, and anyone else working on the project, what the game is, how it plays and how you’re actually going to build it. It doesn’t matter if you’re solo or running a 20 person team – you need one. Otherwise, you’ll be drowning in nonsensical documents wondering what version of your half-a-dozen combat system blueprints you’re actually building this week.
It doesn’t need to be pretty. In fact, don’t waste your time making it pretty. Just don’t write a single line of code until the thing is ‘finished’ (more on the ‘finishing’ thing later).. Creating a GDD first forces you to make important decisions early rather than halfway through development – allowing you to lock in scope and kill half-baked mechanics early. If it’s not in the doc, it doesn’t go in the build.
Now, as for ‘finishing’ your GDD – a good GDD is never really done. Games change. Priorities shift. You’re going to need a live doc, not a static sheet. Keep it updated, but, when it’s in a good place, start development. You’re making a game after all, not a word doc.
Not using a GDD was a MISTAKE
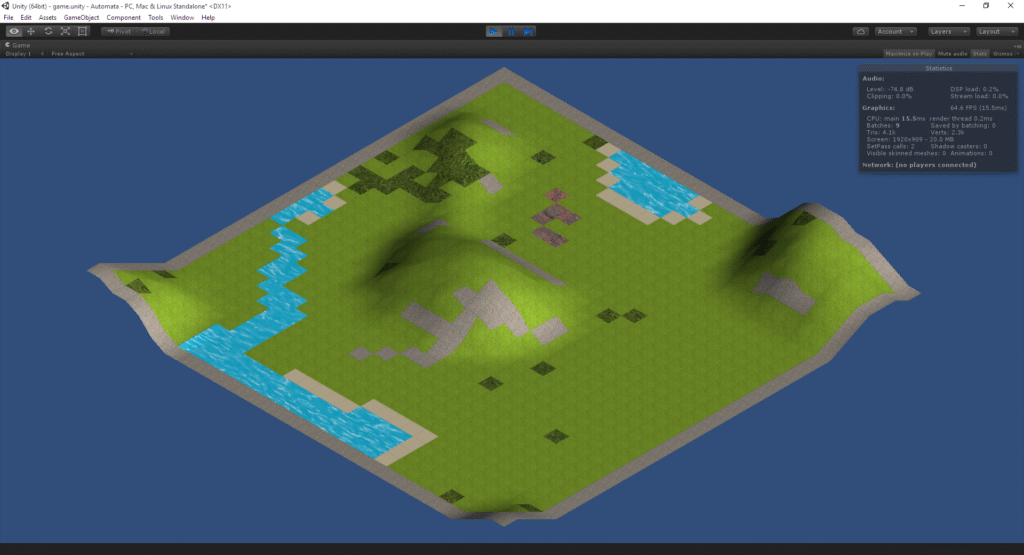
My advice on this comes from a place of regret. When we started development on Rise of Industry (known, at the time, as Project Automata, which was just me and a tiny team), we didn’t use a proper Game Design Document. Instead, we stitched the game together using scraps of design across Trello, Jira and Wikia pages. Every part of the game was living separately. At first, this wasn’t much of a challenge – each tool kind of worked on its own… until they didn’t. Features were scattered, systems were overlapping and critical design decisions got buried.
Without a central, living document to keep everything aligned, features were built… then rebuilt. Tasks were duplicated or missed altogether. Our momentum slowed to a crawl, and frustrations grew – big time.
Eventually, we managed to ship the game – but looking back I’m surprised we reached that milestone (exhausted and overwhelmed, but nonetheless). Would a GDD have fixed everything? No. But it would’ve saved us months of reworks and dozens of “wait, wasn’t that system already done?” moments. In game development, any amount of stress reduced and wasted time saved goes a long way.
What should be in a Game Design Document?
Since then, I’ve come a long way – and drawn up a whole load more GDDs. Here are the things that I include in every GDD I write. For a more in depth look into what should be included, check out our GDD example at the end of this article.
The Boring Stuff (and Bureaucratic Infrastructure)
Don’t skip this. Every GDD I write starts off with the boring (but essential) stuff.
You should list the name of your project (even if it’s just ‘Untitled Management Game’) as well as the version number and date. This’ll be important to keep track of changes and inform your team (even if your team is just yourself!) when the document was last updated – making sure everyone’s on the same page… Literally. You should also include a short overview of what the game is and why everyone should care – your own, internal elevator pitch.
This is the section to handle of all your project’s bureaucratic infrastructure. Define your platform targets, the in-engine tools you’ll be using, your build pipeline, production schedule (especially important!), monetization model (free, paid, paid premium, live service), and your team structure.
And please, for your sanity, include a ‘Revision History’ section. Just a basic changelog: version number, date, what’s changed. It’s not glamorous but it will save you later.
Overview & Vision
Now the game can start to exist on paper.
This is where you lay out what the game is, who it’s for and why anyone should give care. The elevator pitch from before? This is the long version. Flesh it out – what’s the core idea behind the game? What are players actually doing and why is that fun?
Next up: Target Audience. And no, “everyone” doesn’t count. Be specific. What age group are you hitting? What genres do they already play? Are they playing on PC or console? Knowing who you’re making the game for will help you to make better calls everywhere else.
Then, pin down the genre – but go deeper than just ‘platformer’ or ‘RPG’. Be specific. The more detail you give here, the better aligned your team (or future you) will be.
From here, describe the look and feel. What does the game visually look like – pixel art? Low-poly? And what’s the tone? Lighthearted? Gritty? These choices bleed into UI, audio, even pacing – so get it clear now.
Now, ask the important question about the game, what makes your game stand out? Your unique selling point is what will make the audience care. This could be anything from the narrative to mechanics. Look into and analyse your competitors. What lessons are you taking from them and what will you do differently?
Gameplay Design
This is where you lay out how your game will actually play. This is the part that I personally enjoy the most. It involves brainstorming, armchair planning, broad strokes mastery; all the fun stuff.
Start with the Core Gameplay Loop. What’s the thing the player will be doing over and over? Harvest -> craft -> build -> shoot -> loot -> upgrade. Whatever it is, nail it down here. If your loop’s weak, no amount of polish will save the game.
Then, break down the controls. Not just ‘WASD to move’ but the responsiveness and how intuitive you want your interactions to be. Are you targeting mouse and keyboard? Planning for controller integration? How about the Steam Deck? Write it down, and be specific.
Next, lay out your progression systems. How do players grow and unlock new stages of the game? Is it through leveling up or narrative milestones? What drives the player forward? If you don’t define it here, you’ll end up sticking it on later – and it’ll feel like it.
Difficulty and balance are key too. You’ll need to define how it’s introduced and managed as well as how you’ll keep the system fair. Are you scaling enemy stats? Introducing challenges over time? Letting the players choose a mode? Most importantly, how do you stop it from all becoming a cake walk or an impassable wall?
Finally, sort your feedback systems – the cues that tell the player how they’re doing. Sound cues, UI change, screen shake, animations – this stuff tells the player if they’re doing well or screwing up.
Game Mechanics
The game mechanics will be the systems and rules of the world.
First, start with your Core Mechanics. These will be the actions that the player will repeat constantly – the stuff that is your game. Building, crafting, shooting, etc. If it doesn’t feed the core loop it doesn’t belong here.
Next, note your Side Mechanics – The elements that add flavour and depth, but don’t carry the game alone. Additional loops. Dialogue systems. These should enhance the core experience.
Following this, describe your interaction mechanics: how the player actually engages with the system and world around them. Are they just clicking buttons in a UI? Dragging objects? This is where ‘feel’ begins to matter – make sure the method fits the mechanic.
Finally, lay out any economy and currencies. If you’ve got in-game resources, vendors or upgrading – lay it out. You will need to clearly define what currencies exist, as well as how they are earned. An unbalanced economy can break the entire system.
Story, Worldbuilding and Characters
Though this section isn’t applicable for all games, even in games that prioritise gameplay, the story and setting can play an important role in creating the tone of the game.
Here, I’ll cover the story, worldbuilding and characters that can create the backbone of your game. For a much more detailed look into these elements and how they should be broken down, remember to check out our GDD example below!
Start with the themes, tone and style of the game. What are you trying to make players feel? Is it hopeful or bleak? Comedic or grounded? What emotional journey do you want the player to experience?
From here, you can sketch out the core narrative arc that will structure your game. You don’t need cutscene-by-cutscene beats, just the overall structure. If the player’s choices will affect the story, make note of how this works and the impact it will have. This isn’t the place for scripts; focus on player agency and the narrative tools you may be using.
Next, build the world. Explain the setting, factions and rules that make your world feel real. Keep it high level, but clear – especially if the setting will affect other systems, such as gameplay. You don’t need to be Tolkien here – just do enough to give the world some weight.
And finally, characters. This can be anything from protagonists to NPCs, avatars and enemies. Who are they? What do they want? How do they change? Even light games benefit from characters that feel like they belong.
Level Design
This is where you figure out what the player’s actually doing in the world.
When crafting the level design section of your GDD, start with the level objectives. What’s the win condition? Is the player escaping, surviving, solving, exploring? Be specific. Defining what the goal is will help to shape the layout of the levels.
Next, map out the layout and structure. For example, are we talking tight linear levels or a fully open world? Define the structure early or your greybox phase will be a mess. Then, walk through the gameplay flow. Where should the player breathe and where should they panic?
Don’t forget to highlight any interactive elements! Think traps and destructible terrain – anything that changes how the player moves and thinks inside a level. Players may be able to unlock elements by progressing – outline this logic too.
Lastly, you can touch on environmental storytelling and the role audio and visual design has to play in the levels.
UI and UX Design
You can have the best mechanics in the world – but if the player can’t read the screen or navigate your menus, it’s all useless. This is the part that I’m the worst at: if you see me with coloured pencils, you should run the other way.
Start with your core UI elements – healthbars, resources, core information, whatever the player needs to see. Remember, you’ve only got so much screen space – don’t clutter it with fluff.
Next, move onto UX flow – how the players move through the game’s structure. These are your contextual menus – title screens, pause screens, inventories. Remember to catch out bottlenecks. The less time between your player thinking ‘I want to do this’ and ‘I’ve done it’, the better.
Next, it’s important to define the HUD. What’s shown on screen? What fades away? An intuitive HUD allows the player to focus on having fun.
Also, accessibility features are key for modern games – indie or not. This could be anything from subtitles to colourblind modes. These are integral for many players and shouldn’t just be considered ‘nice to have’. Plan them from the start or run the risk of having to rebuild later.
Conclusion
If there’s one thing you take away from this article, let it be this: don’t start building your game until you’ve written the damn doc.
If you don’t, you’re going to burn time, energy and motivation fixing things that a bit of planning at the start could have solved in five minutes. I learned this the hard way. Rise of Industry managed to ship despite the Frankenstein’s monster of a ‘GDD’ we used – save yourself the time, and do your planning first.
I’ve tried to pack this article with everything I wish I’d known from the start – but reading it isn’t as good as doing it. So I’m giving you the actual Game Design Document template I use on my projects. Steal it. Edit it. Tear it apart and rebuild it to suit your own workflow. It’s in your hands now.
